



Blogs

Are THC Gummies Legal? A 2026 State-by-State Guide
Yes, THC gummies are legal to buy in most of the United States right…
Learn more
You must be 21+ to enter this site
 FREE SHIPPING $89+
 FREE GIFT ON $120+
 100% FEDERALLY LEGAL
 LAB TESTED FOR PURITY
FREE SHIPPING $89+
FREE GIFT ON $120+
100% FEDERALLY LEGAL
LAB TESTED FOR PURITY
FREE SHIPPING $89+
FREE GIFT ON $120+
100% FEDERALLY LEGAL
LAB TESTED FOR PURITY
FREE SHIPPING $89+
FREE GIFT ON $120+
100% FEDERALLY LEGAL
LAB TESTED FOR PURITY
FREE SHIPPING $89+
FREE GIFT ON $120+
100% FEDERALLY LEGAL
LAB TESTED FOR PURITY
FREE SHIPPING $89+
FREE GIFT ON $120+
100% FEDERALLY LEGAL
LAB TESTED FOR PURITY
FREE SHIPPING $89+
FREE GIFT ON $120+
100% FEDERALLY LEGAL
LAB TESTED FOR PURITY
FREE SHIPPING $89+
FREE GIFT ON $120+
100% FEDERALLY LEGAL
LAB TESTED FOR PURITY
LAB TESTED FOR PURITY
FREE SHIPPING $89+
FREE GIFT ON $120+
100% FEDERALLY LEGAL
LAB TESTED FOR PURITY
FREE SHIPPING $89+
FREE GIFT ON $120+
100% FEDERALLY LEGAL
LAB TESTED FOR PURITY
FREE SHIPPING $89+
FREE GIFT ON $120+
100% FEDERALLY LEGAL
LAB TESTED FOR PURITY
FREE SHIPPING $89+
FREE GIFT ON $120+
100% FEDERALLY LEGAL
LAB TESTED FOR PURITY
FREE SHIPPING $89+
FREE GIFT ON $120+
100% FEDERALLY LEGAL
LAB TESTED FOR PURITY
FREE SHIPPING $89+
FREE GIFT ON $120+
100% FEDERALLY LEGAL
LAB TESTED FOR PURITY
FREE SHIPPING $89+
FREE GIFT ON $120+
100% FEDERALLY LEGAL
LAB TESTED FOR PURITY

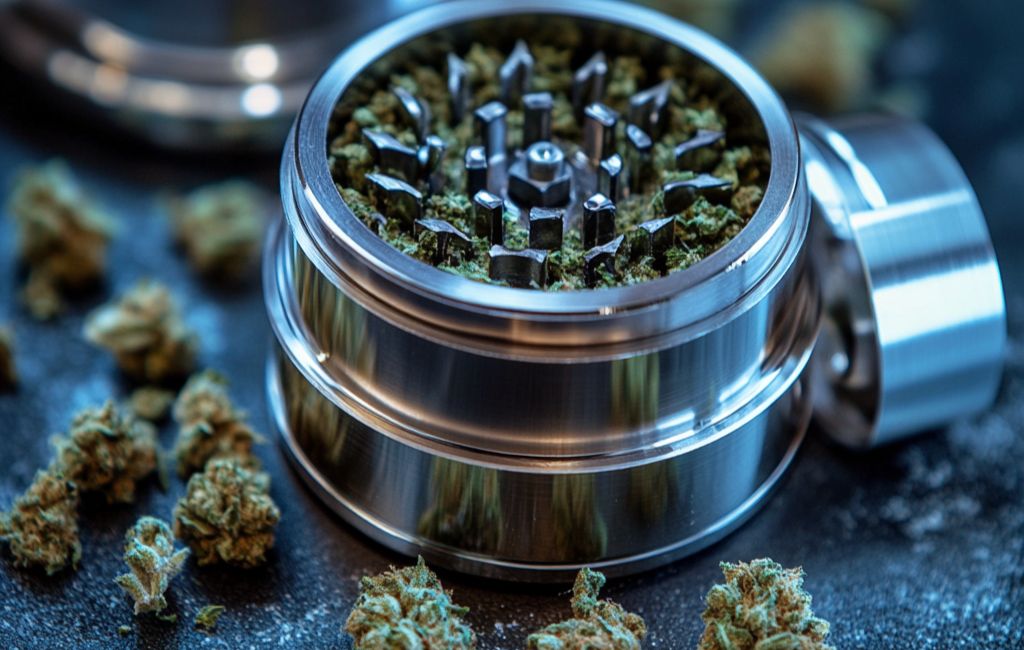
A weed grinder is an essential tool for cannabis and marijuana enthusiasts, ensuring a smooth and consistent grind for the perfect smoking or vaping experience. However, over time, grinders can accumulate sticky resin, plant residue, and debris that can affect performance and even alter the flavor of your herb. Regular cleaning keeps your grinder functioning properly, extends its lifespan, and ensures you get the most out of your cannabis. In this guide, we’ll walk you through the best methods on how to clean a grinder, whether metal, plastic, or acrylic, so you can keep it in top shape with minimal effort.
Keeping your weed grinder clean is essential for optimal performance and maintaining the quality of your bud and herb. Over time, residue and sticky buildup can affect how smoothly your grinder operates. In this guide, we’ll cover two effective cleaning methods: a quick clean for routine maintenance and a deep clean for a thorough refresh.
Empty your grinder, ensuring no residual herb is left behind. Use a toothpick or pin to dislodge any stubborn particles stuck in the grooves.
Disassemble all the sections of your grinder. Most grinders have multiple chambers, so be sure to separate each one.
Place the grinder parts in a sealable plastic bag or container and submerge them in isopropyl alcohol. Let them soak for at least 30 minutes.
⚠️ Note: If your grinder is made of plastic or acrylic, avoid using isopropyl alcohol as it may cause damage. Instead, use warm water and dish soap.
Remove the grinder from the solution and scrub it thoroughly with a toothbrush or small brush. Be sure to clean all surfaces, including hard-to-reach areas.
Rinse all components under warm water to remove any alcohol or debris. Wipe each part dry with a clean towel or paper towel. Ensure the grinder is completely dry before using it again.
Take apart your grinder, separating all chambers. Don’t worry about stuck-on residue—we’ll tackle that in the next steps.
Place the grinder pieces in the freezer for at least 30 minutes. This helps solidify sticky residue, making it easier to remove.
Once frozen, use a small brush or toothpick to scrape away the hardened plant matter. This step makes the deep-cleaning process much easier.
Submerge all parts in isopropyl alcohol for at least 30 minutes to break down any remaining grime.
⚠️ For plastic or acrylic grinders, replace alcohol with warm, soapy water to prevent damage.
Take the grinder out of the solution and scrub thoroughly with a brush, paying extra attention to crevices where residue tends to accumulate.
Rinse each piece under warm water, ensuring no residue or alcohol remains. Dry each part thoroughly with a microfiber cloth before reassembling your grinder.
By following these simple cleaning methods, you can keep your grinder in top condition, ensuring a smooth and effortless grind every time!
Yes, THC gummies are legal to buy in most of the United States right…
Learn more

Raw, unheated THCA clears your system in roughly 24 to 48 hours. Once you…
Learn more

Yes, edibles show up on drug tests. Standard panels detect THC edibles exactly the…
Learn more

Green Wednesday is the Wednesday before Thanksgiving, the cannabis industry’s second-biggest shopping day of…
Learn more
